Donor portal
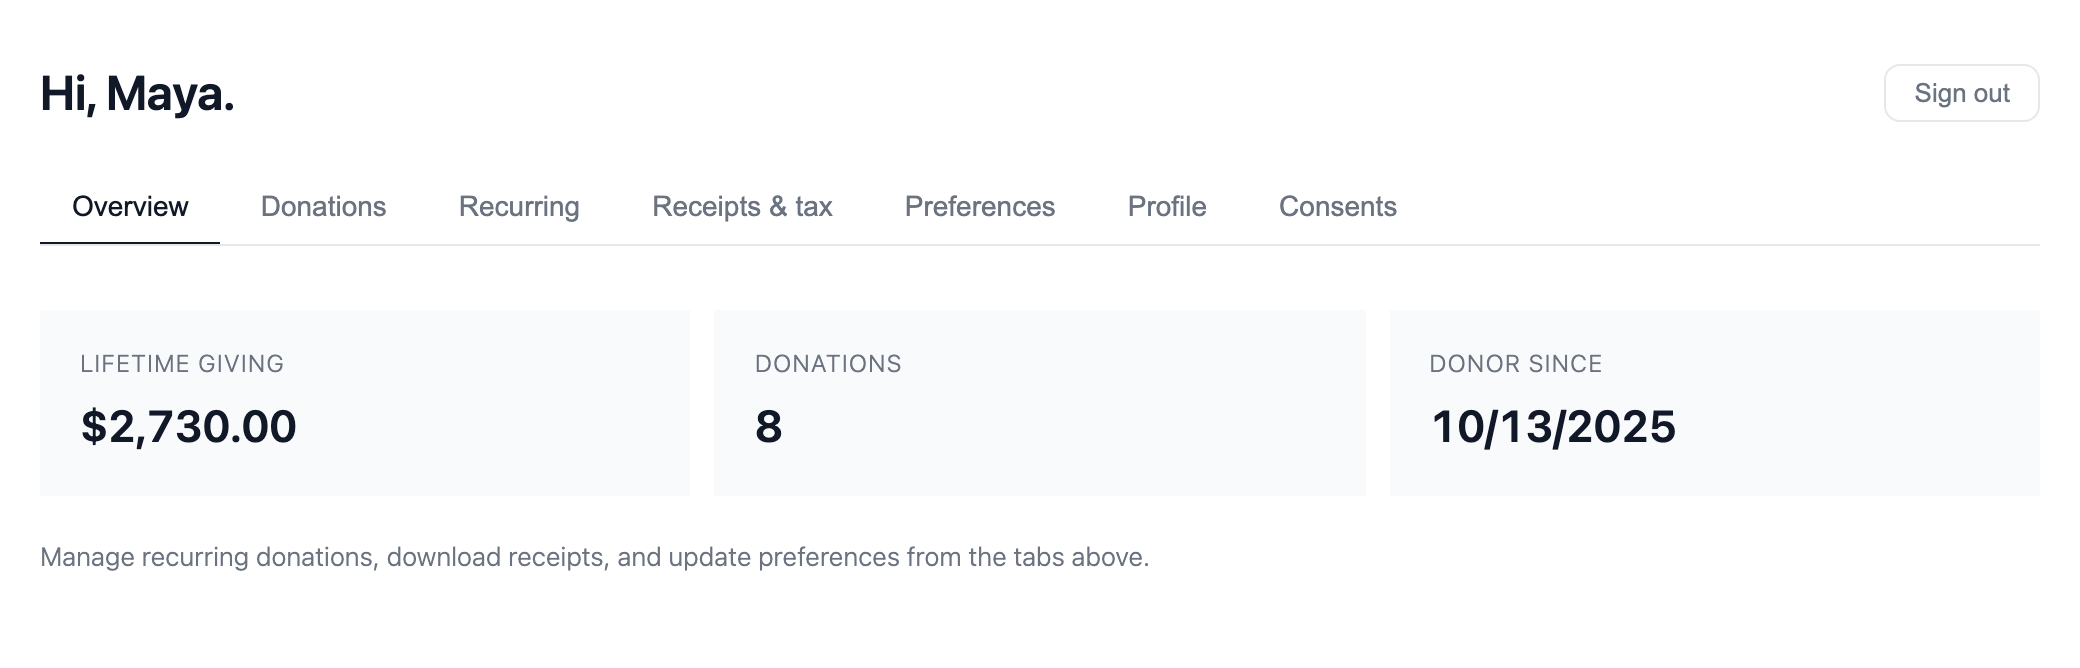
The donor portal is a self-service area where donors can view their donation history, manage recurring plans, download receipts, and control their personal data. This guide covers how the portal works and what donors can do with it.
What the portal is
The donor portal is a front-end page on your WordPress site that gives donors secure access to their account. It does not require a WordPress user account or password. Donors access it through a magic link sent to their email.
How donors access the portal
GiveFlow uses passwordless authentication through magic links. There are no usernames or passwords to manage.
- The donor visits the portal page and enters their email address.
- GiveFlow sends a magic link to that email.
- The donor clicks the link to access their portal.
- The link works once. Clicking it opens a portal session that lasts 30 days.
When the session ends, the donor requests a new magic link by entering their email again.
Portal features
Donation history
Donors can view a list of the donations they have paid for. Each entry shows the amount, the date, the reference number, and whether the donation was one-time or recurring. Opening an entry shows the details and, for donations made to a campaign with a page, a “Give again” link that opens the campaign page with the amount and frequency pre-filled.
Download receipts
Donors can download any receipt issued to them. This is useful for tax records and personal bookkeeping.
Manage recurring plans
Donors can view and manage their recurring donation plans. Through the portal, they can:
- View all plans, their status, and the next payment date
- Pause a plan for 1, 3, 6, or 12 months, and resume a paused plan
- Skip the next charge
- Change the donation amount
- Cancel a plan
For more details on recurring plans, see the Recurring donations documentation.
Edit profile
Donors can update their first and last name, phone number, country, and company. The email address is shown but cannot be edited from the portal, because it identifies the donor record. Donors who need it changed have to ask your organization.
Set giving preferences
Donors can choose to make all their future donations anonymous. They can also switch an individual past donation between named and anonymous from its entry in their donation history.
Manage consents
Donors can review and update their consent preferences, such as marketing communications and data processing agreements.
Annual giving statement
Donors can generate and download an annual giving statement. This document summarizes all donations made during a calendar year, which is useful for tax filing.
Download their data
From the Profile tab, donors can download a JSON file holding everything your organization has stored about them. This supports GDPR compliance by giving donors access to their own record.
Delete their account
Donors can delete their account from the Profile tab. They have to type DELETE to confirm, and the deletion runs straight away: it is the same GDPR redaction an admin can perform, removing personally identifiable information while preserving financial records. For details on what redaction removes and keeps, see the Managing donors documentation.
Both the data download and account deletion can be switched off in your privacy settings.
Setting up the portal
The shortcode
The donor portal is powered by the [giveflow_donor_portal] shortcode. This shortcode renders the full portal interface, including authentication, navigation, and all portal features.
How the portal page is auto-created
GiveFlow automatically creates a page at /donor-portal/ during plugin activation. This page contains the [giveflow_donor_portal] shortcode and is ready to use without any manual setup.
If the page is accidentally deleted, you can recreate it by creating a new WordPress page and adding the [giveflow_donor_portal] shortcode to its content. Set the page slug to donor-portal to maintain the expected URL.