Getting started with GiveFlow
GiveFlow is a complete fundraising platform for WordPress. It gives you everything you need to accept donations, manage campaigns, and grow your donor base directly from your WordPress site.
What GiveFlow does
GiveFlow lets you create fundraising campaigns, build donation forms, and process payments without leaving WordPress. The plugin never holds your funds, and card details go straight from the donor’s browser to your payment gateway rather than through your server.
You can connect Stripe, PayPal, or both, accept offline donations by bank transfer, check, or cash, and test everything in a safe sandbox mode before going live. No single gateway is required, so pick the ones that suit your organization.
System requirements
Before you install GiveFlow, make sure your site meets these requirements:
- WordPress 7.0 or higher
- PHP 8.1 or higher
- An active SSL certificate (required for payment processing)
Install the plugin
- Log in to your WordPress admin dashboard.
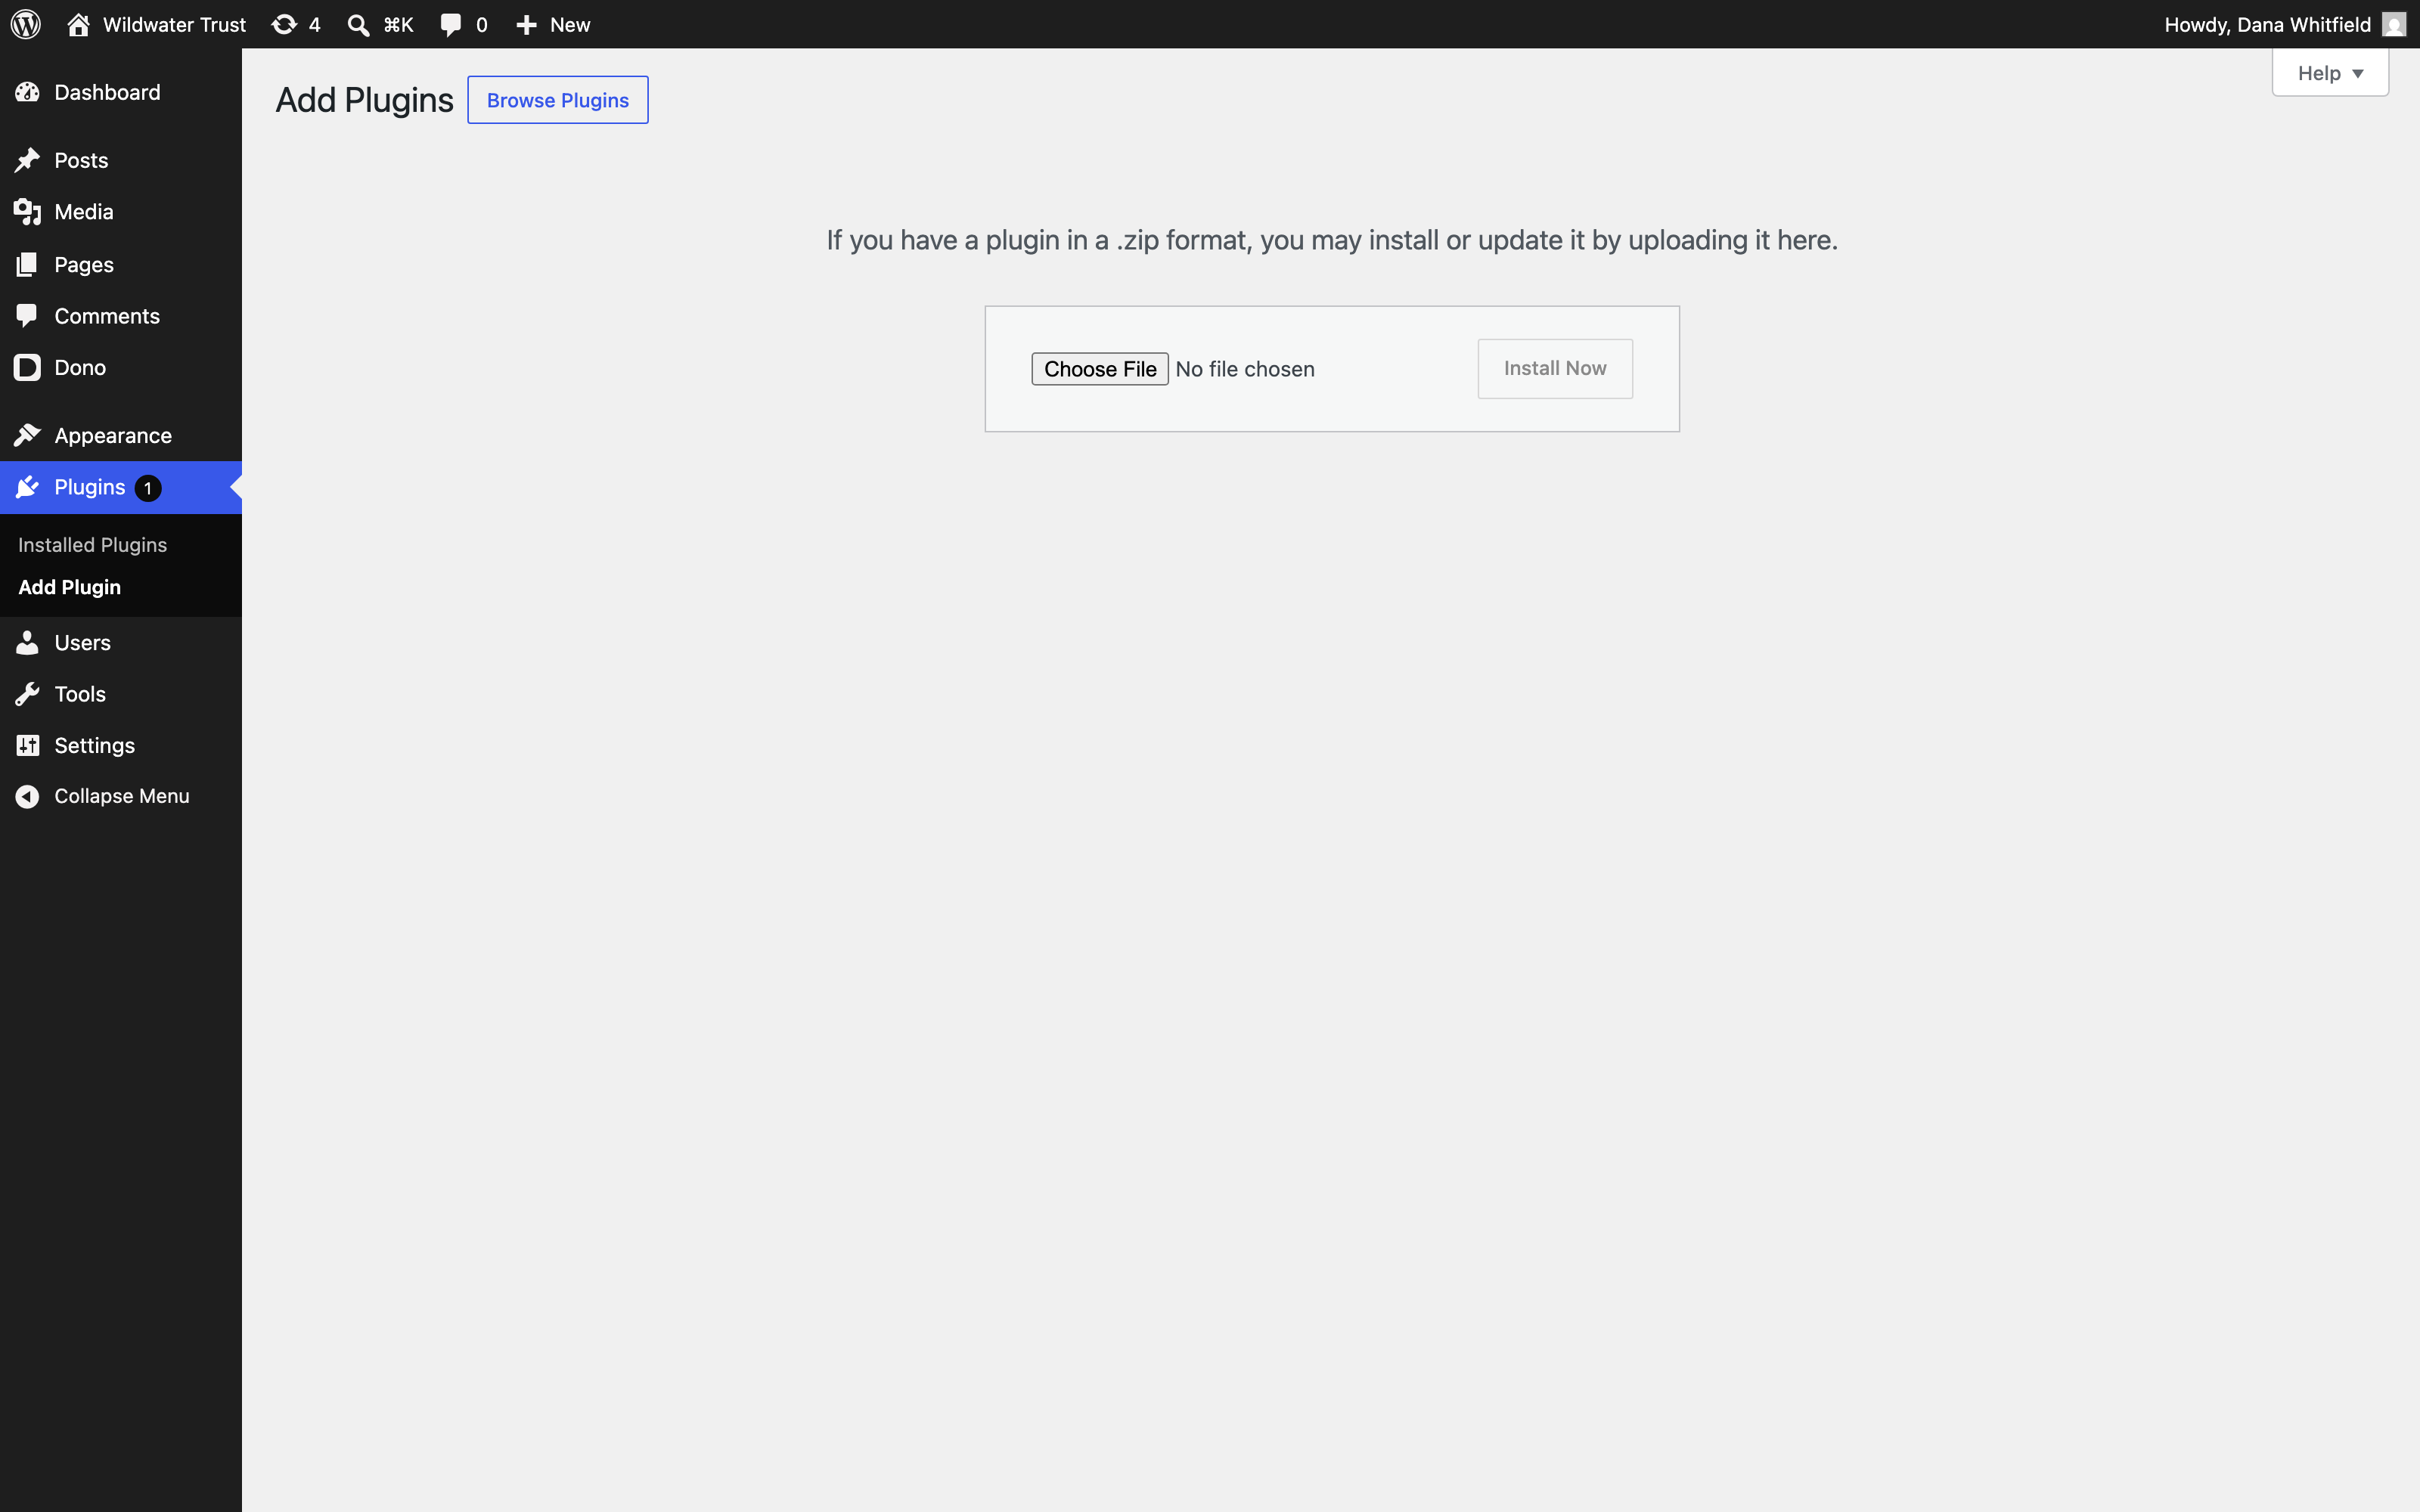
- Go to Plugins > Add New.
- Click Upload Plugin at the top of the page.
- Select the GiveFlow plugin ZIP file from your computer.
- Click Install Now.
- Click Activate after the installation finishes.
What happens after activation
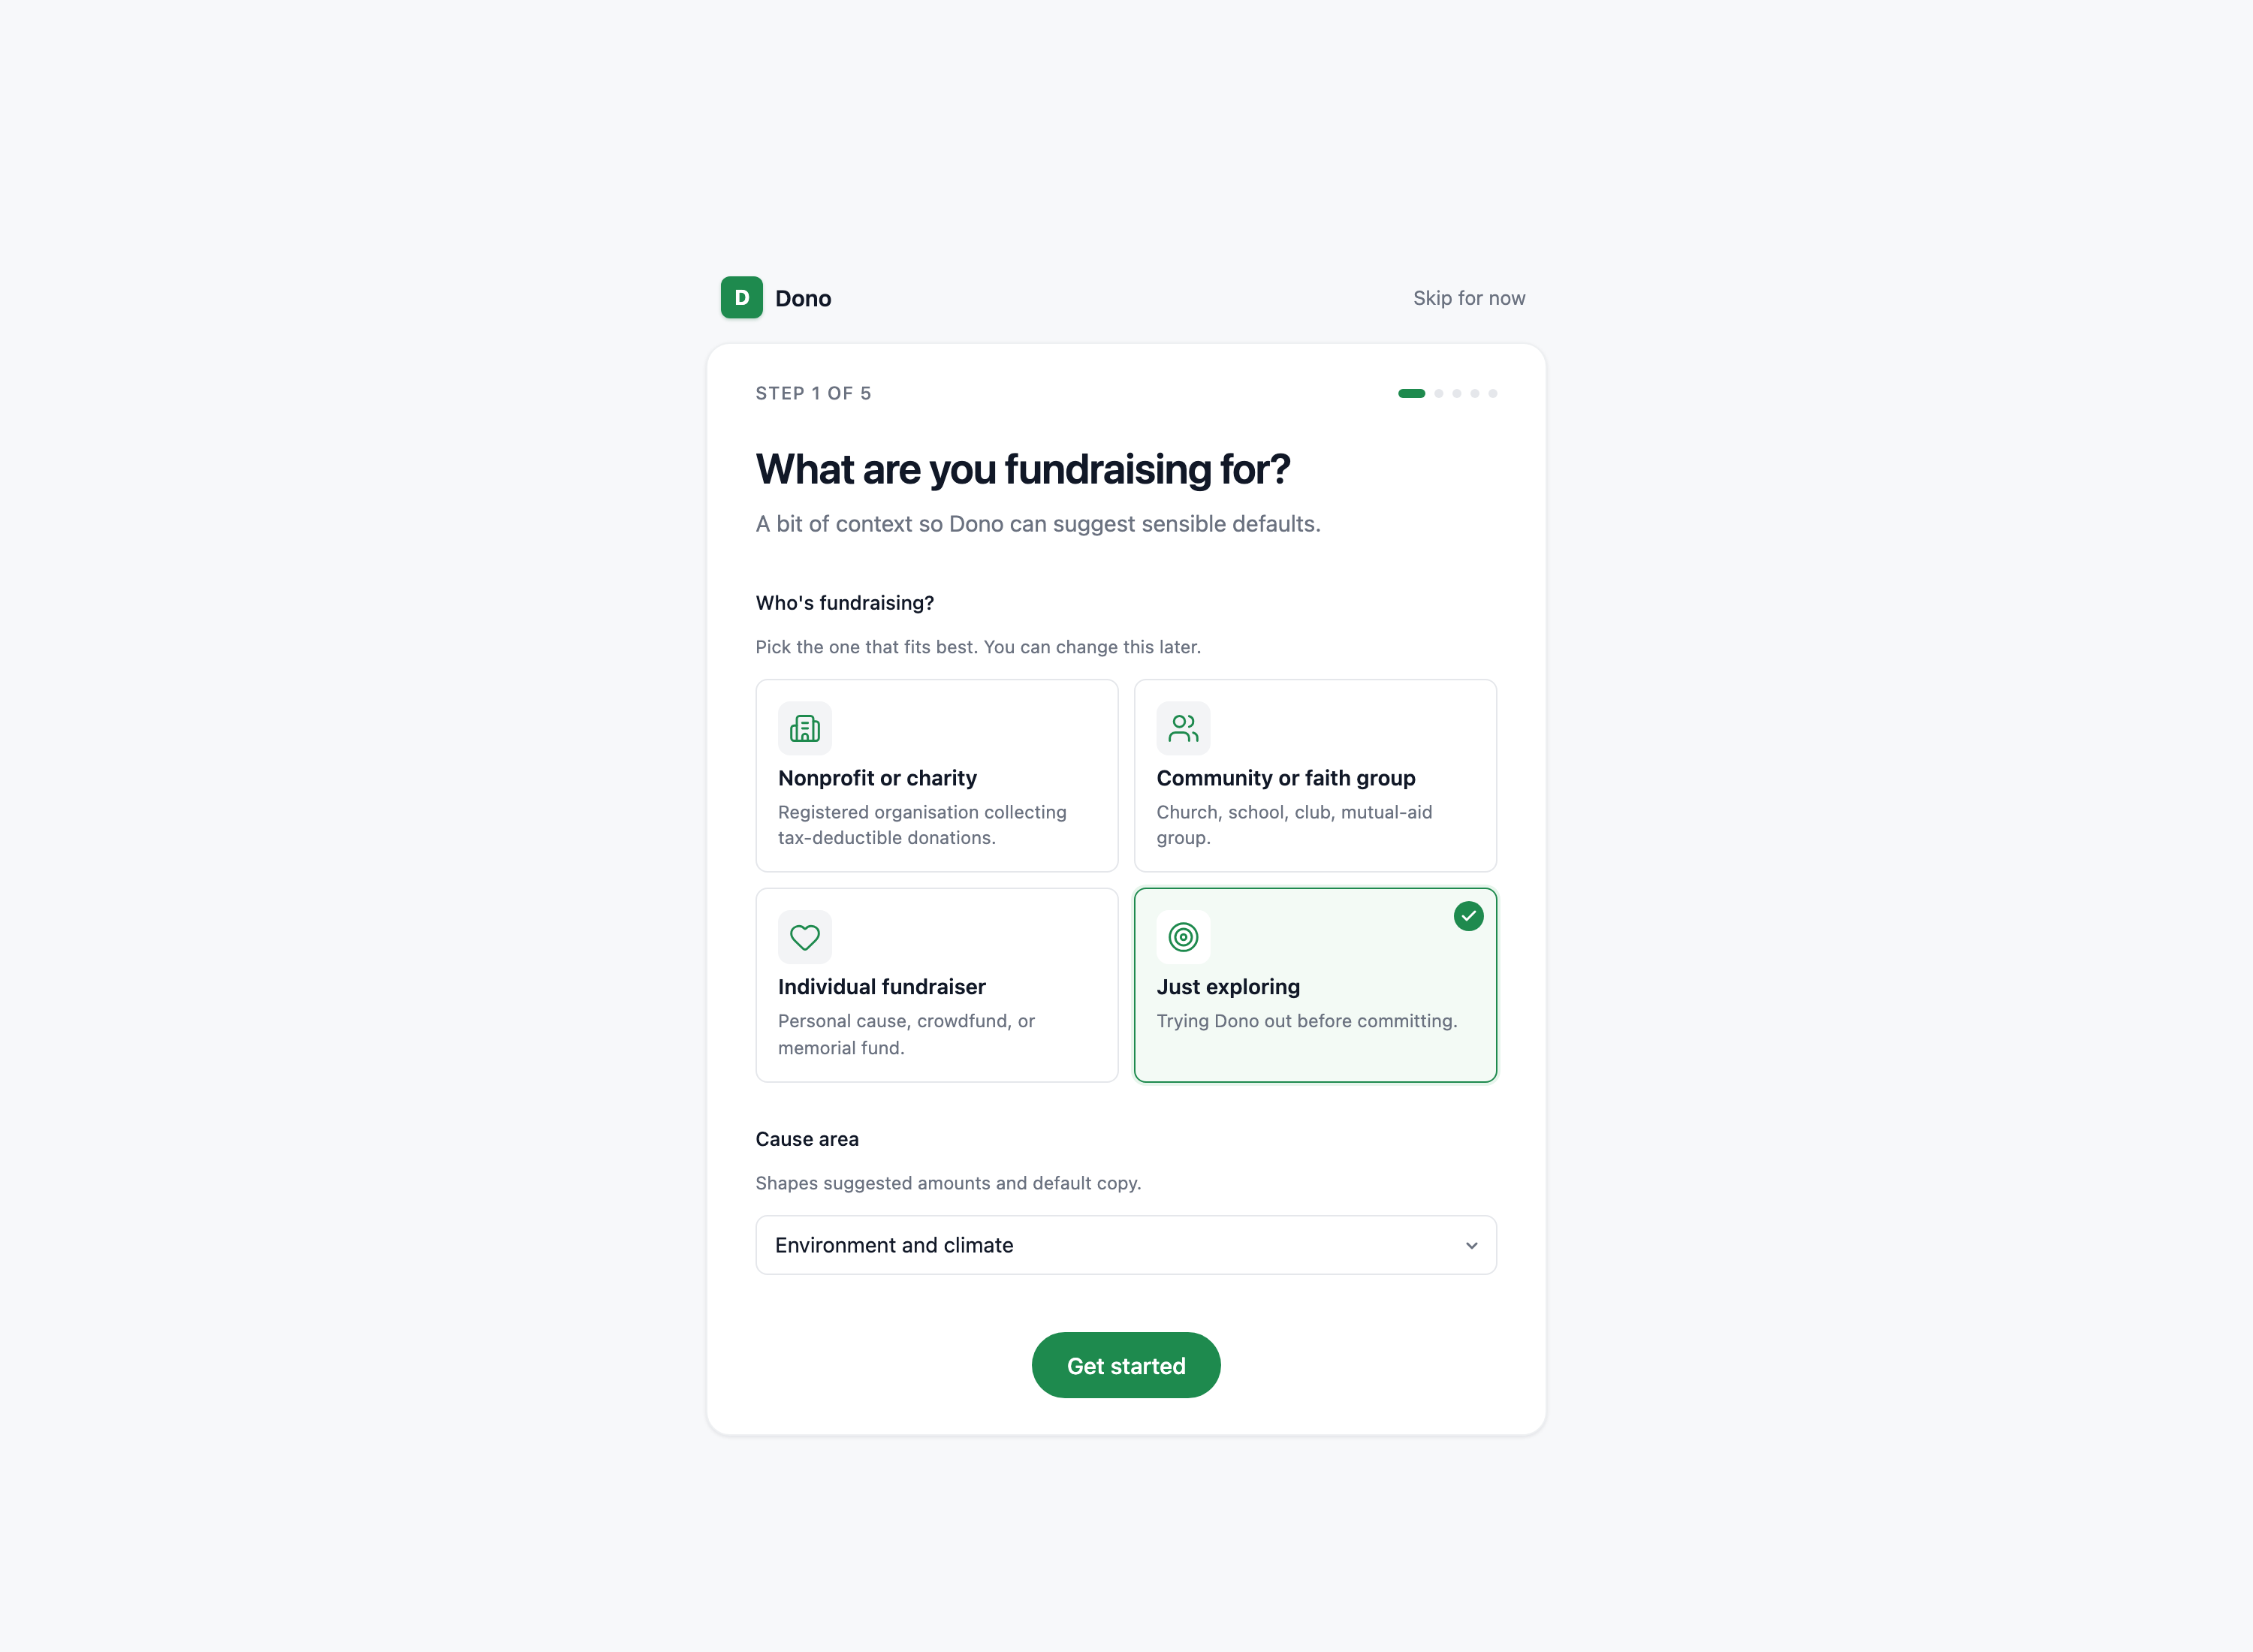
After you activate GiveFlow, the plugin sends you to the onboarding wizard. Until you finish or skip it, opening any other admin screen takes you straight back to the wizard. The WordPress Plugins and Updates screens are the exception, so you can always deactivate the plugin. The wizard walks you through the initial setup in five quick steps.
You will describe your cause, enter your organization details and currency, set a fundraising goal, and pick a starting look. GiveFlow then creates your first campaign and ends on a short get-started checklist. The entire process takes just a few minutes.
The wizard never asks for payment keys. Its checklist starts with connecting a payment gateway, and Stripe, PayPal, and a manual bank transfer flow are all offered there as starting points.
Next steps
Once activation is complete, follow the onboarding wizard guide to finish setting up your account.