Create your first campaign
Campaigns are the foundation of fundraising in GiveFlow. Each campaign has its own page, donation form, and progress tracking. This guide walks you through creating one from scratch.
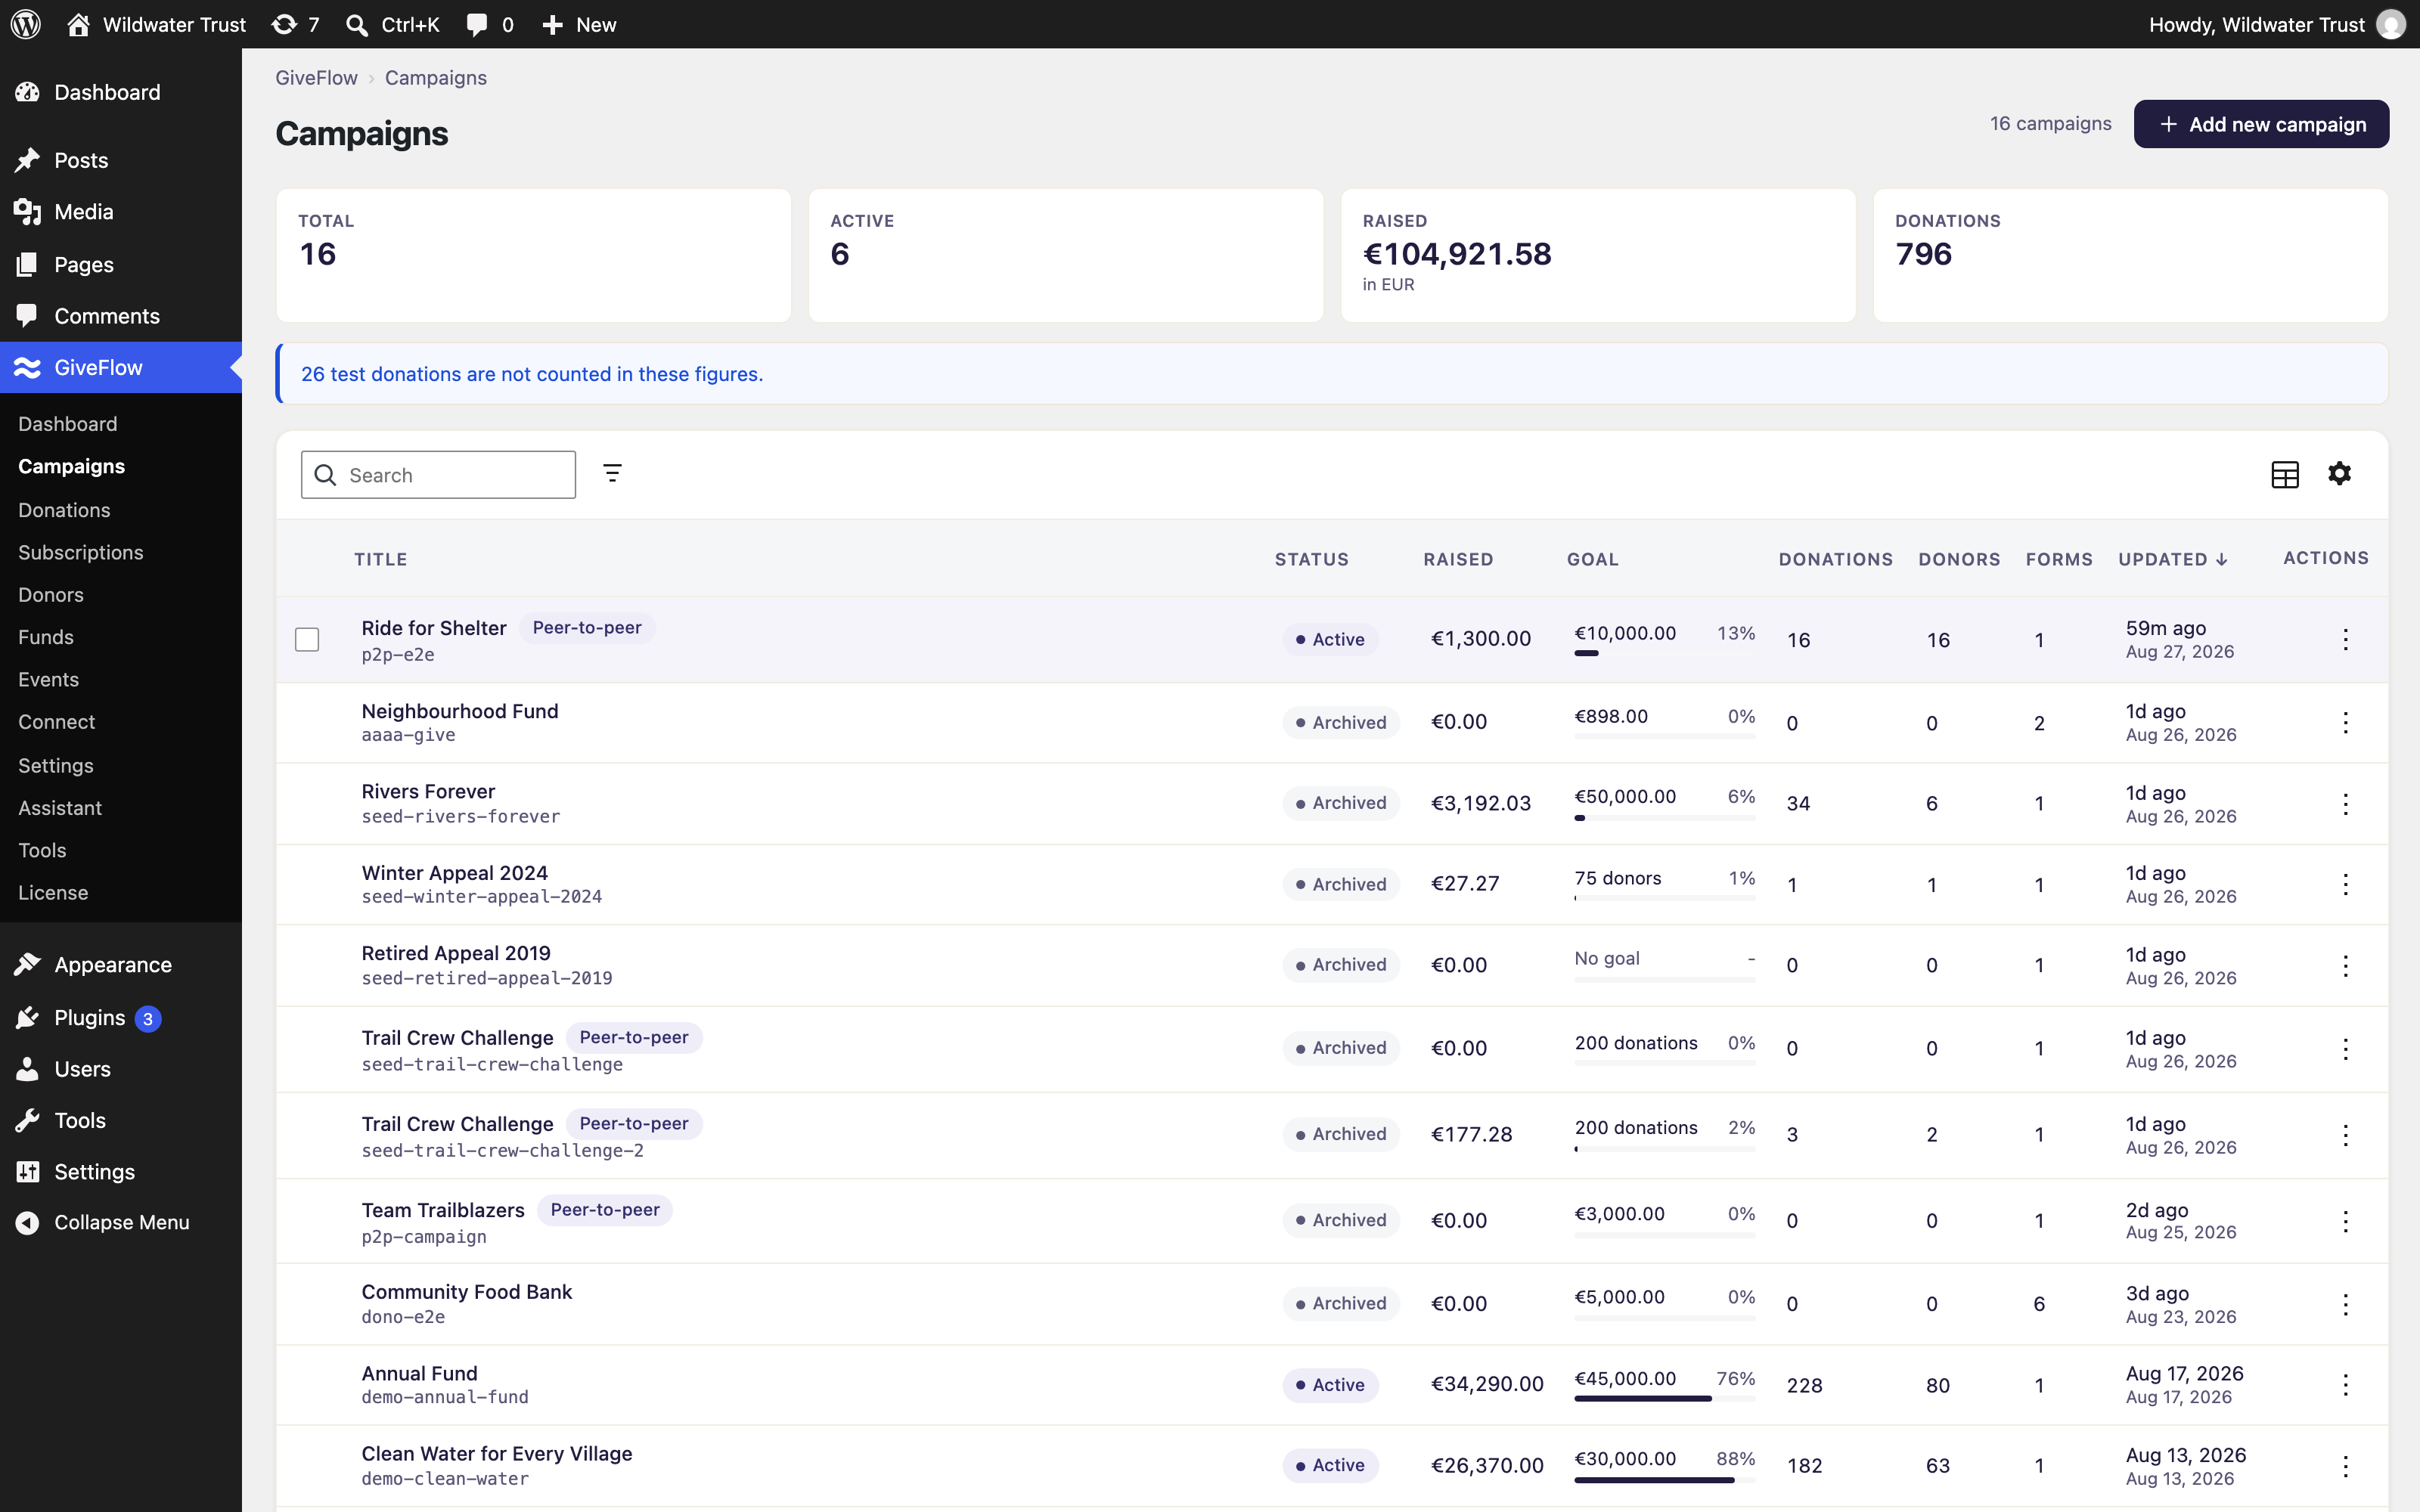
Navigate to campaigns
- In your WordPress admin, go to GiveFlow > Campaigns.
- Click Add new campaign at the top of the page. If you have no campaigns yet, click Create your first campaign in the empty state instead.
Set up your campaign
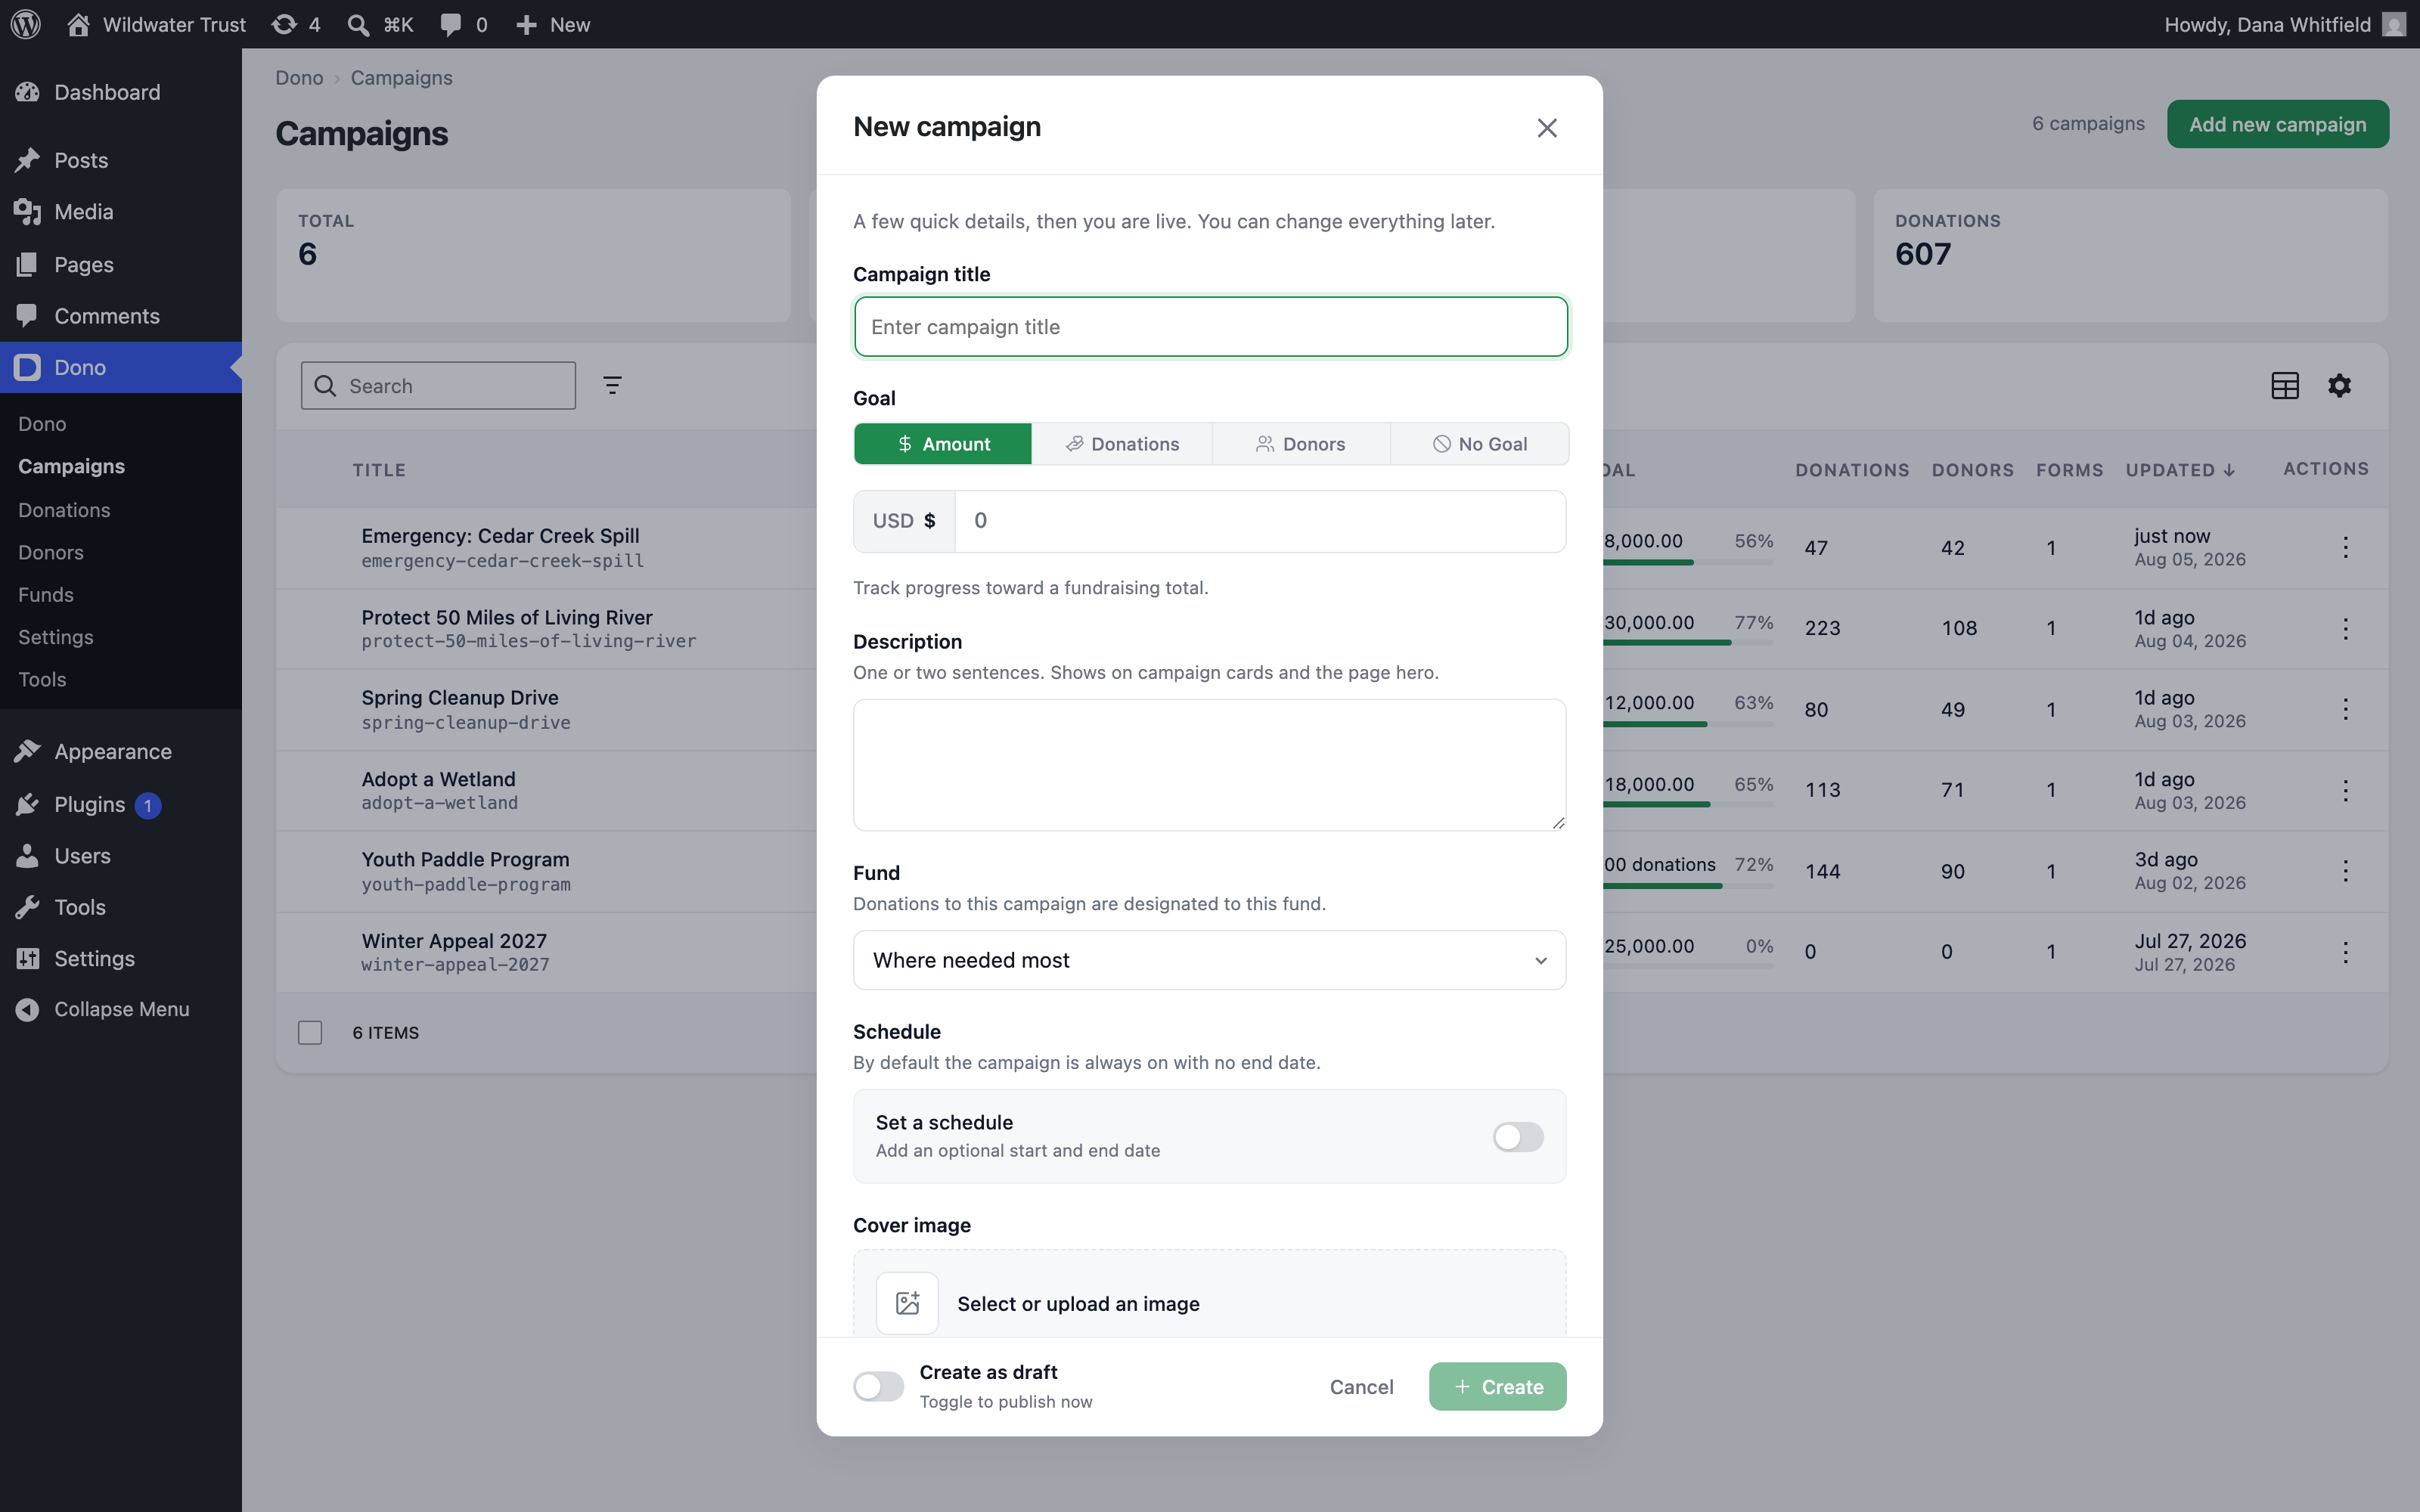
A drawer opens with the details for your new campaign. Only the title is required.
Campaign title
Give your campaign a clear, descriptive name. This title appears on the campaign page and in your dashboard. Keep it short and specific so donors understand the purpose immediately.
Goal
Choose how your campaign tracks progress:
- Amount: Track progress toward a fundraising total. Your campaign page displays a progress bar that fills as donations come in.
- Donations: Track the number of completed donations.
- Donors: Track the number of unique donors who give to this campaign.
- No goal: No progress bar or target. This works well for general funds or recurring giving.
Amount goals are recorded in your organization currency, which you set under GiveFlow > Settings > Currency. Campaigns do not have a currency of their own.
Other details
Below the goal you can add a description, pick the fund donations are designated to, set an optional start and end date, choose a cover image, and edit the permalink. All of these are optional, and you can change them later from the campaign’s settings.
What gets auto-created
When you save a new campaign, GiveFlow automatically creates two things for you:
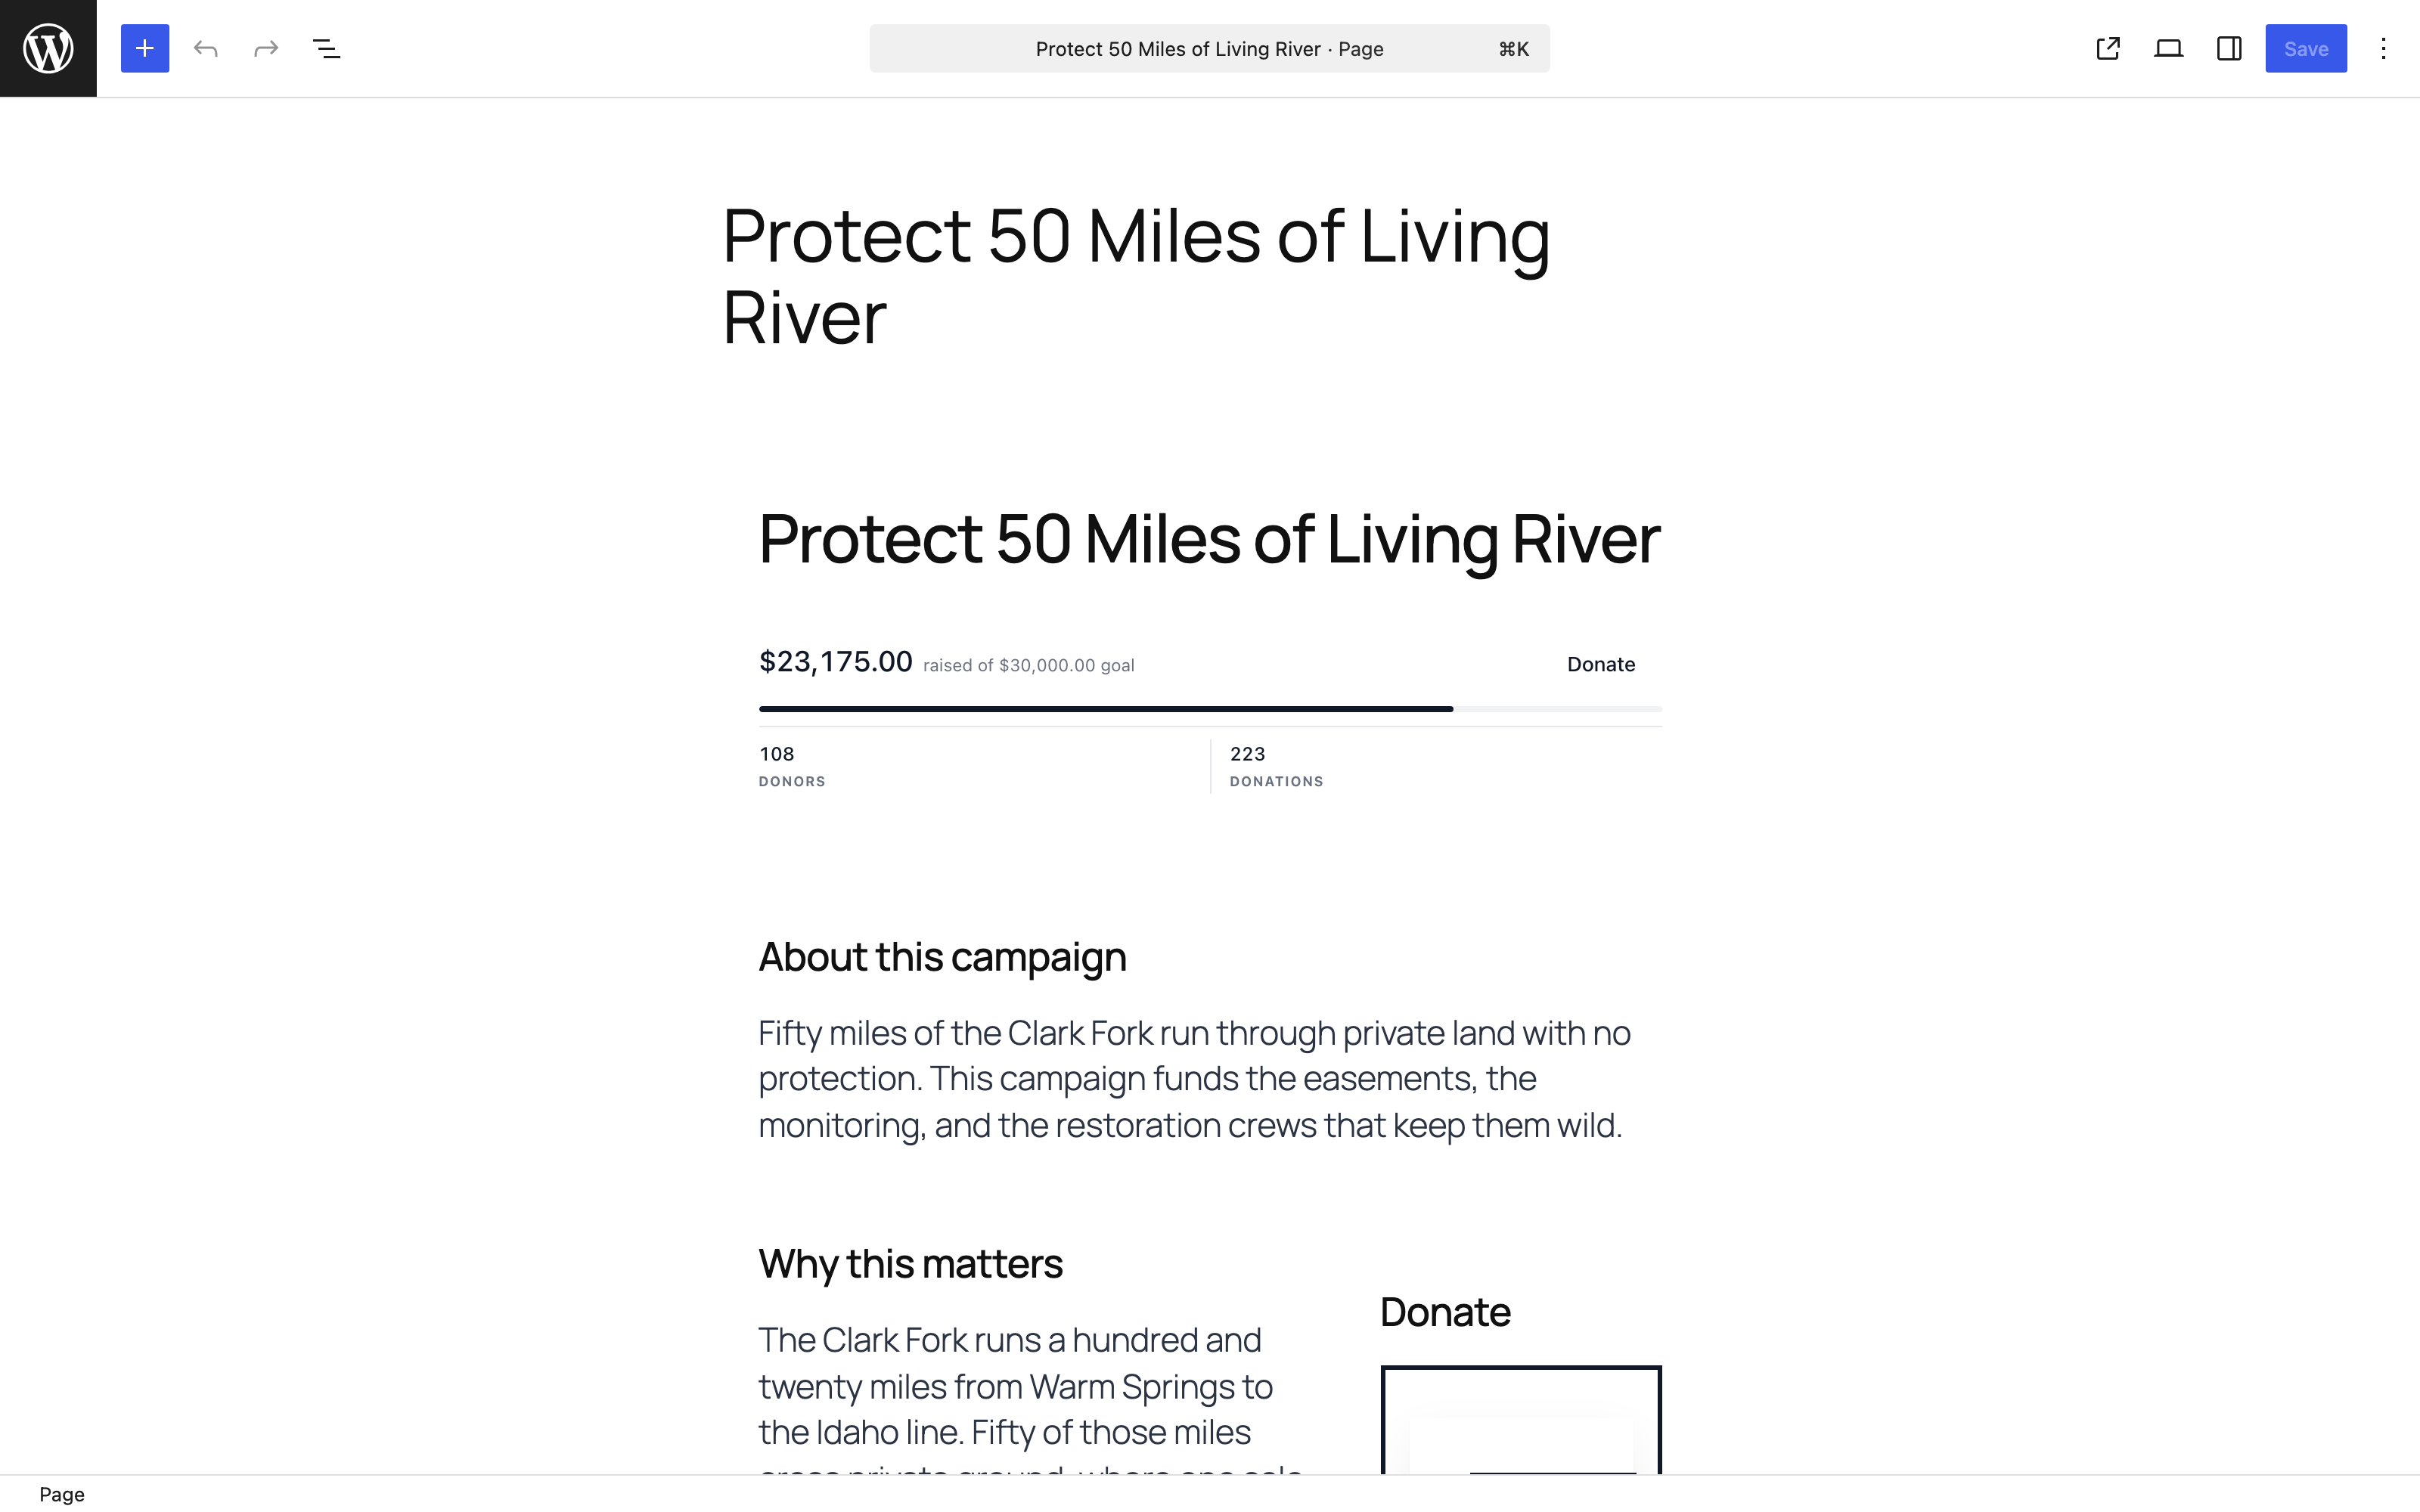
- A WordPress page with starter blocks already in place. This page is ready for you to customize with your own content, images, and messaging.
- A default donation form attached to the campaign. Donors use this form to submit their donations directly from the campaign page.
You do not need to build these from scratch. GiveFlow handles the setup so you can focus on your content.
Publish your campaign
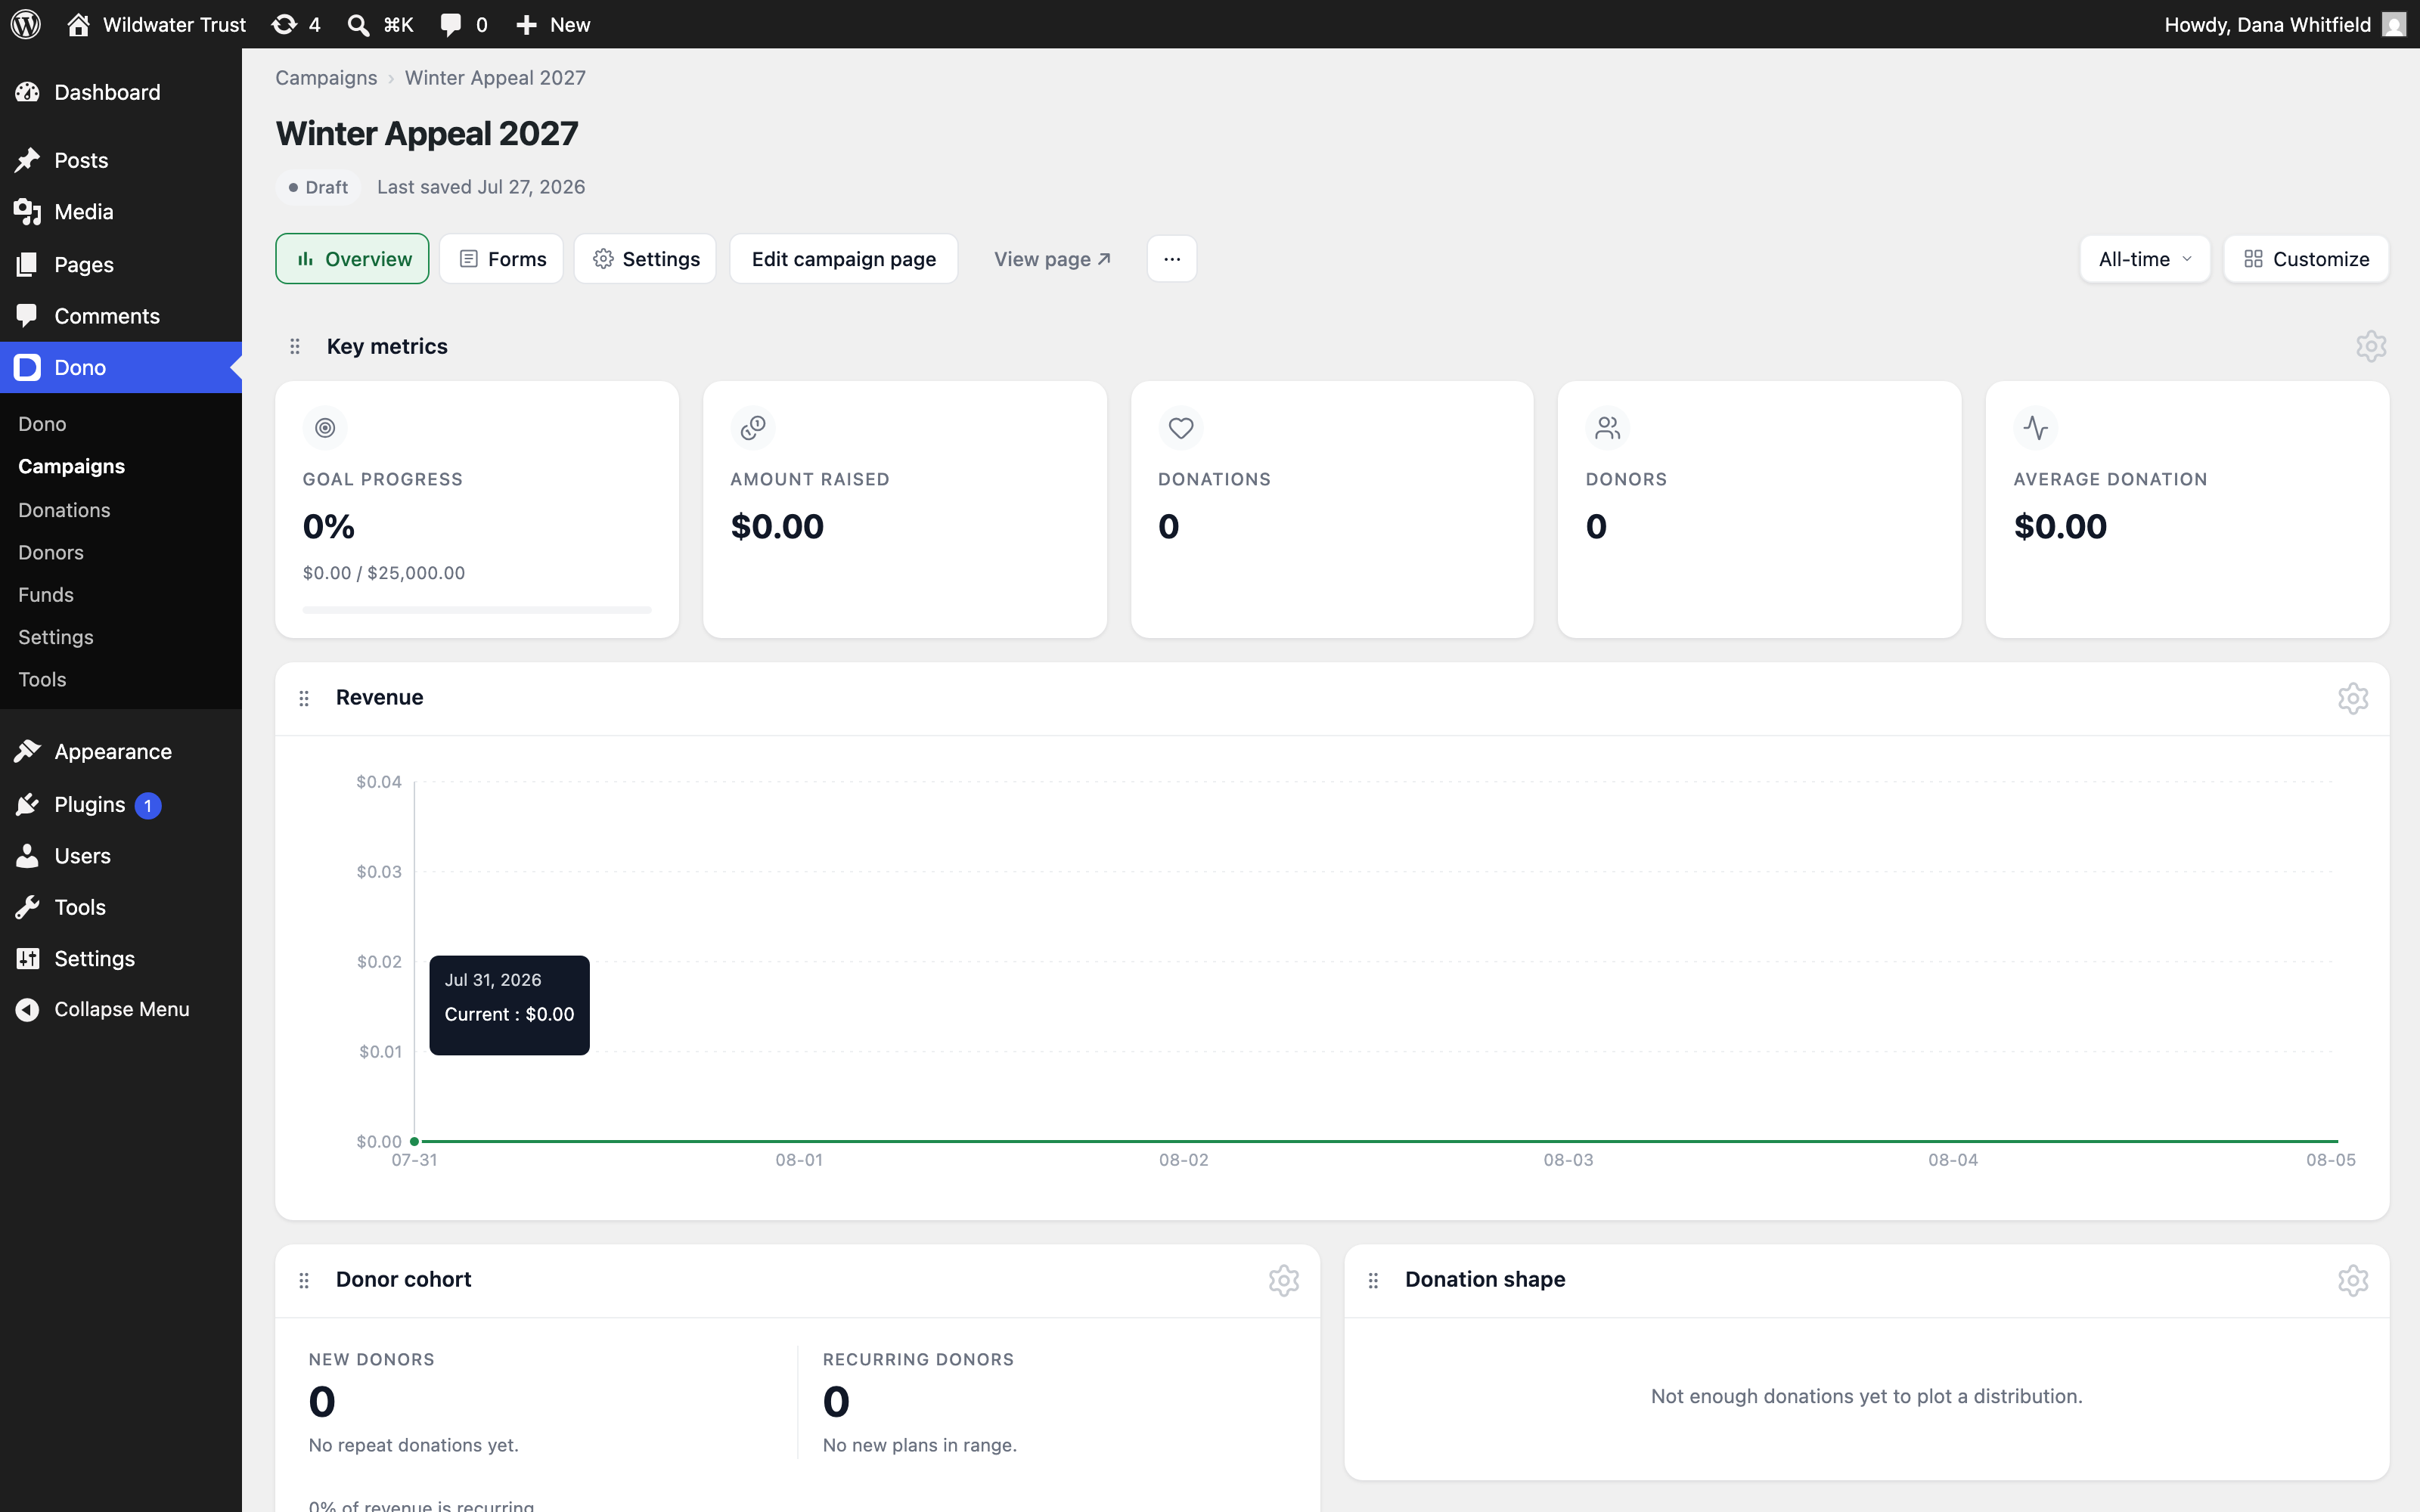
Your new campaign starts as a draft unless you turned on Publish now before creating it. When you are ready to go live:
- Open the campaign from GiveFlow > Campaigns.
- Click the campaign actions button (the three dots) next to the campaign title.
- Choose Publish campaign.
Publishing the campaign’s WordPress page has the same effect: GiveFlow publishes the campaign along with it.
The page only becomes visible to visitors once both the campaign and its default donation form are published. If the page is still a draft after you publish the campaign, open the form from the campaign’s Forms tab and click Publish in the form editor.
View your campaign page
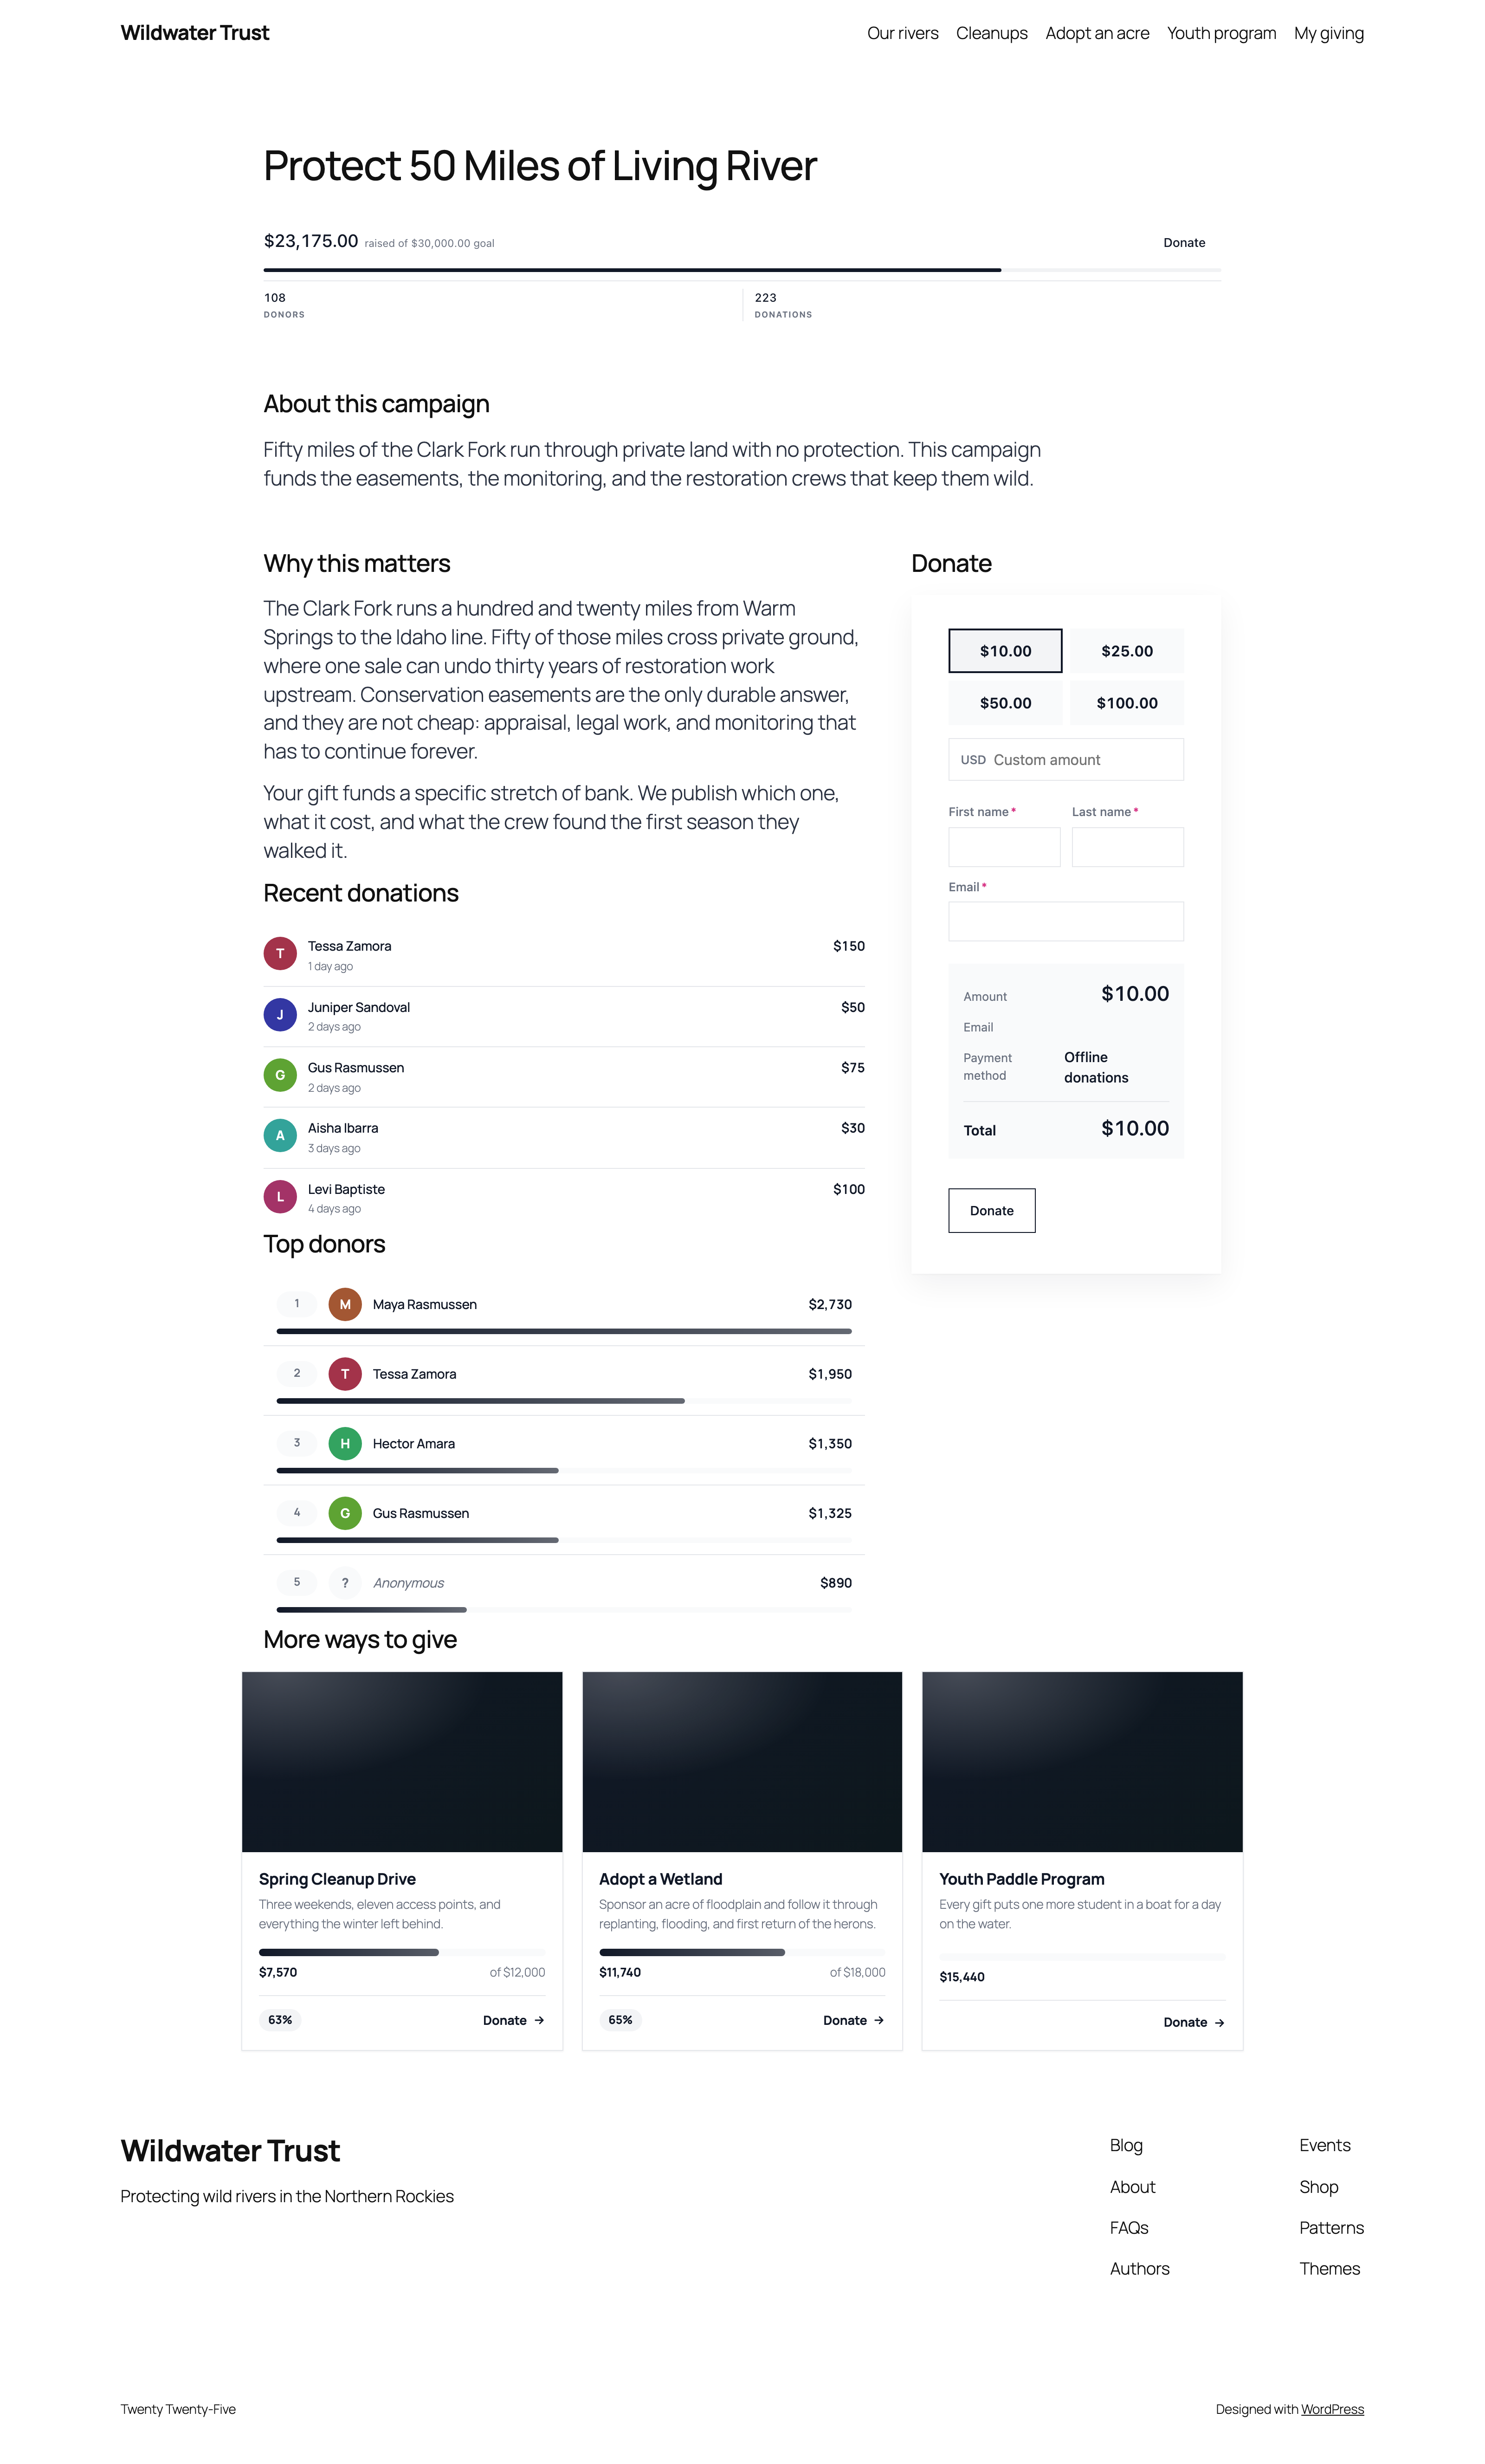
After publishing, visit the page on your site to see it as your donors will. Confirm that:
- The campaign title and content display correctly.
- The donation form appears and is functional.
- The progress bar shows (if you set a goal).
Next steps
- Customize your donation form in the form builder.
- Connect a payment gateway in GiveFlow > Settings > Payments to process real donations.
- Monitor your campaign’s performance on the dashboard.